Find faces in one scan
After you choose a photo, the tool looks for faces and adds a covered area for each face it finds. Larger, front-facing faces are generally easier to detect.

Upload a photo to find and pixelate faces automatically. Choose who to hide, adjust the mosaic, and download your edited picture.
Not sure where to begin? See the steps
Four easy steps
No editing experience needed. Find faces automatically or choose the exact area yourself.
Choose a JPG, PNG, or WebP picture, drag one into the tool, or try the sample portrait.
The tool looks for faces on your device and automatically covers the faces it finds.
Choose who to hide, adjust the boxes or add one manually, and select your mosaic strength.
Preview your changes and save the edited picture as PNG, JPG, or WebP at its original size.
Choose what to hide
Cover people in a group photo without having to draw every box from scratch.
After you choose a photo, the tool looks for faces and adds a covered area for each face it finds. Larger, front-facing faces are generally easier to detect.
Turn a person's coverage on or off in the Faces & areas list. This is helpful when you only want to hide one or two people in a group.
Select a box to move or resize it. Increase the coverage if a forehead, chin, or the edge of a face is still visible.
Face detection is a starting point, not a guarantee. Check people at the edge of the picture, small background faces, and anyone facing away from the camera.
Stay in control
You can edit even when the automatic face detector misses someone or cannot load.
Choose Add area manually, then drag across the person you want to hide. You can add more boxes as needed.
Choose Adjust beside a face. Drag the selected box to move it or use its corner to change the size.
Uncheck a covered face to show it, remove a box, or choose Undo to restore your previous area edit.
If a face is missed
Automatic scanning is a useful starting point. A quick manual check helps when the photo is crowded or a face is difficult to see.
Look closely at people in the background. If someone was missed, choose Add area manually and draw a box over their face.
A face turned away from the camera may not be found. Add a box yourself, then make it large enough to cover any visible facial features.
Choose Scan again if you'd like another attempt. You can also continue with manual boxes even when automatic detection is unavailable.
Tip: After adding a box, choose Adjust to move or resize it. For precise placement, use the Left, Top, Width, and Height percentage fields in the editor.
Preview the difference
See how a mosaic covers the face while leaving the rest of the photo visible.
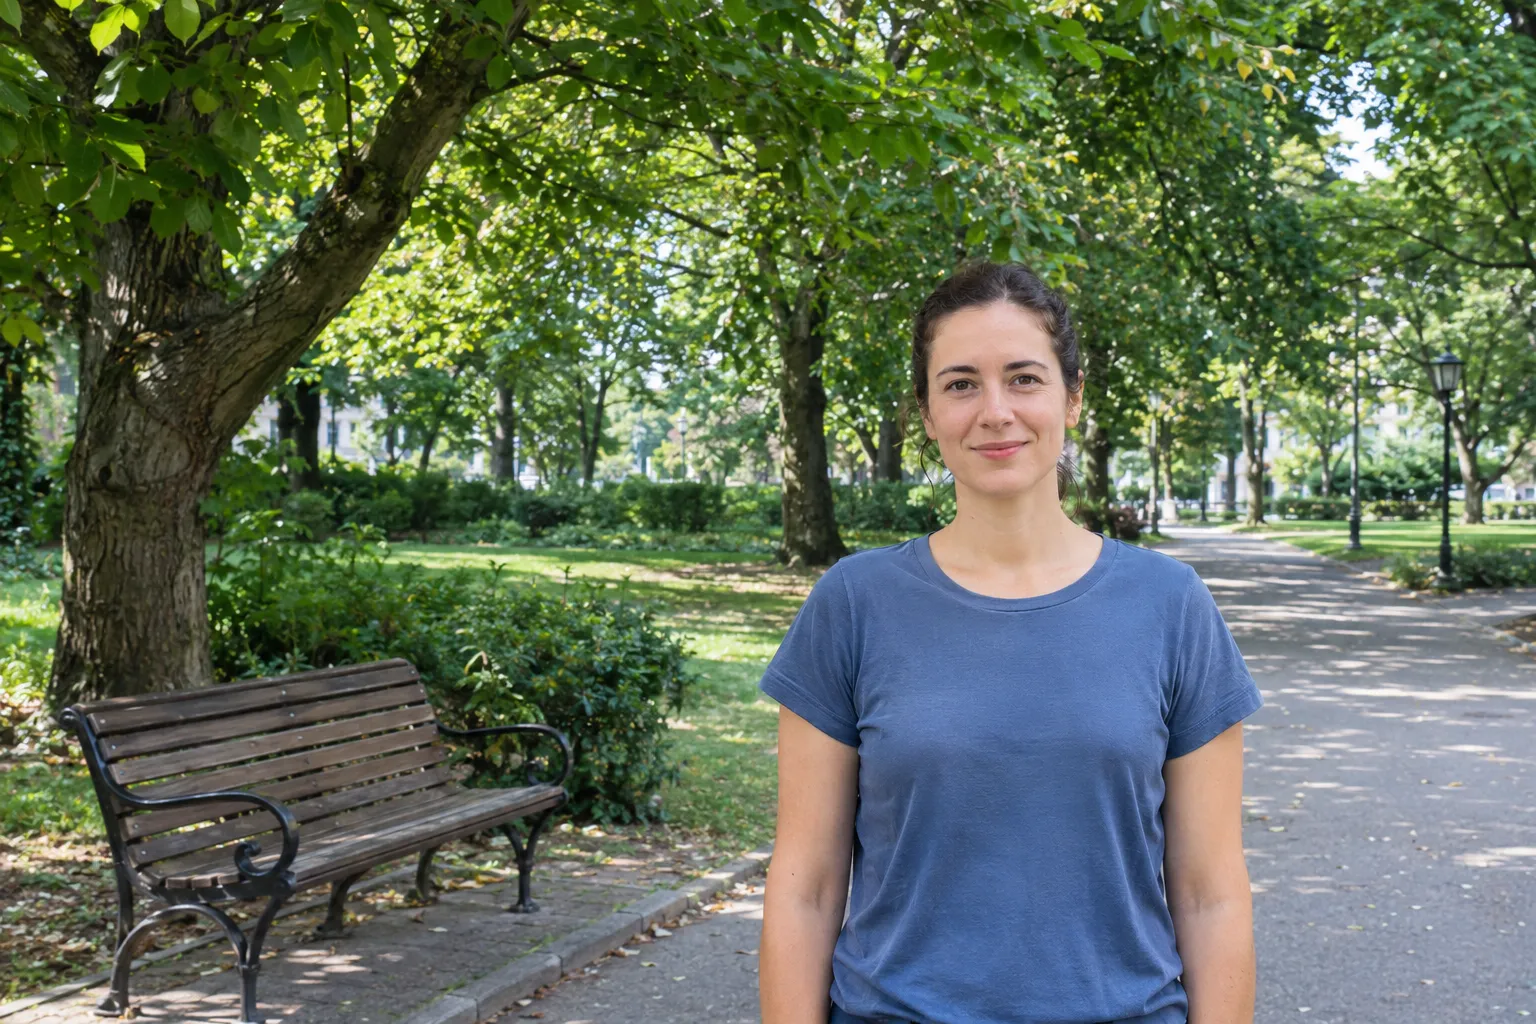
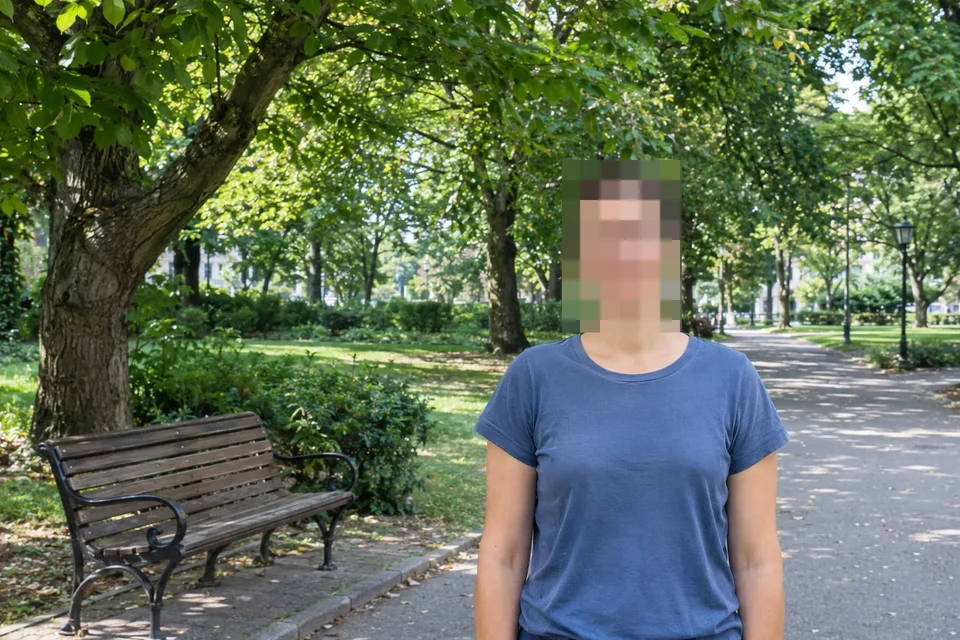
The portrait above uses an existing sample with a manually chosen mosaic area; it is not a demonstration of automatic detection. For your own photo, the editor can suggest face areas automatically, which you should always review.
These before-and-after pairs were exported from this page's face pixelator (Strong mosaic). Always review every face in your own photos.
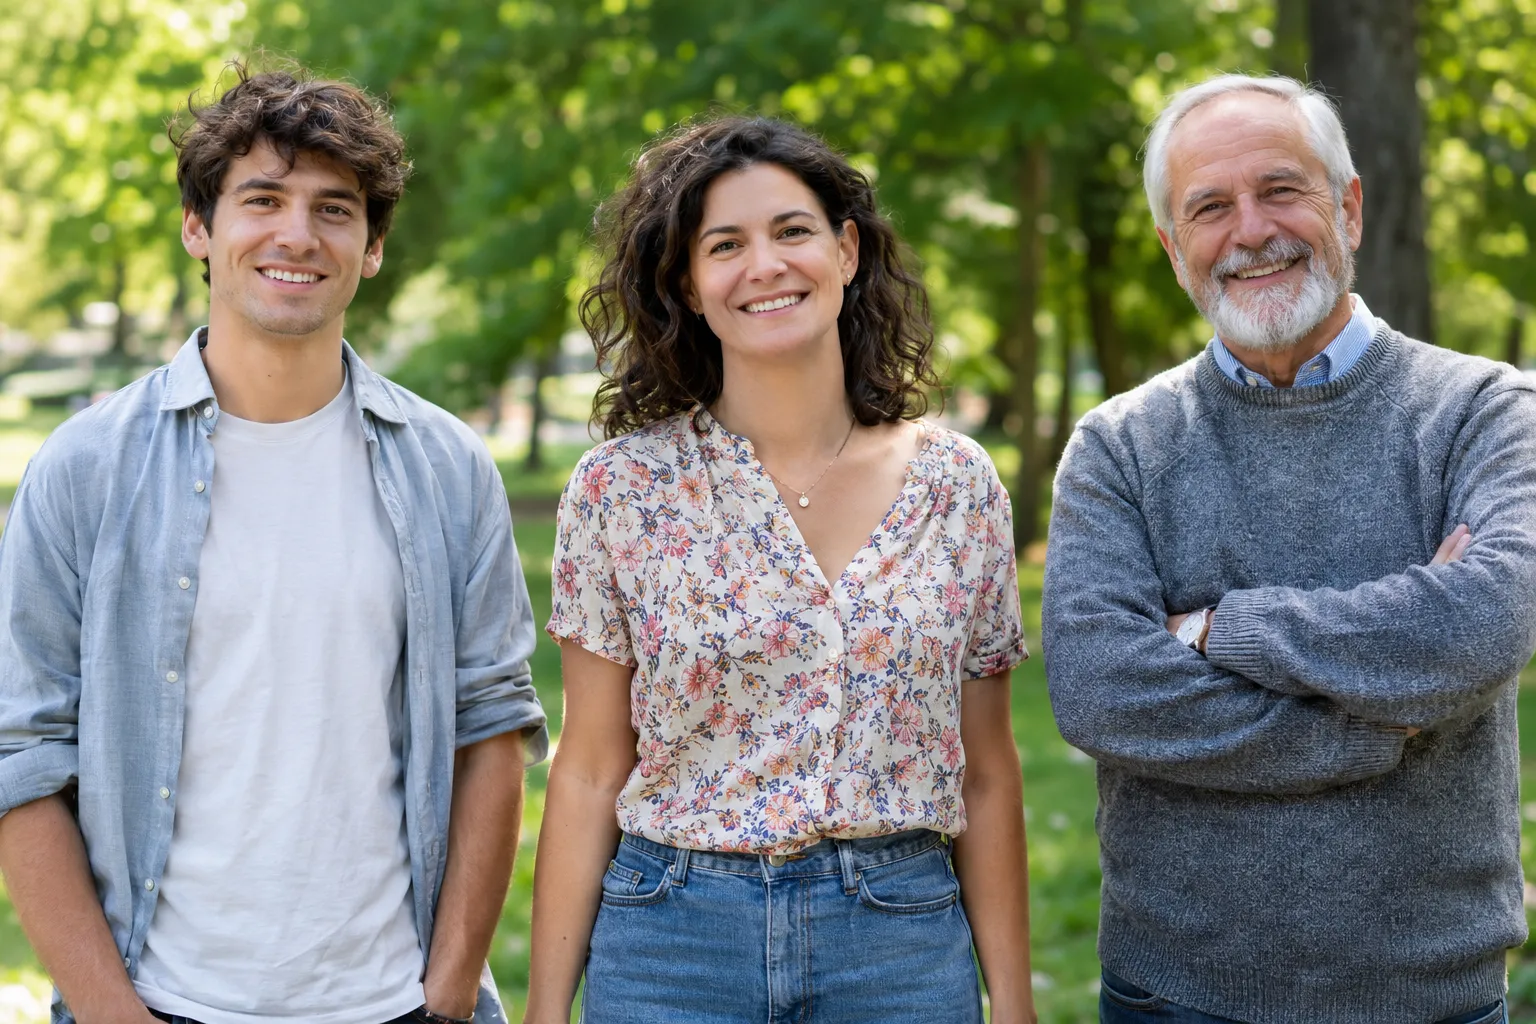
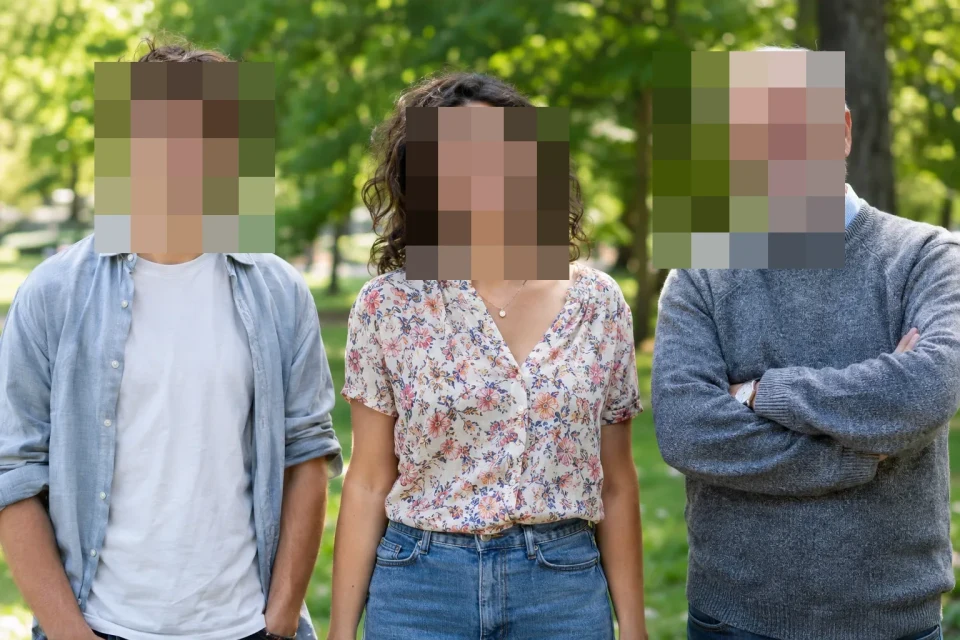
Automatic detection covered two faces; a manual box was added for the third so everyone is hidden.
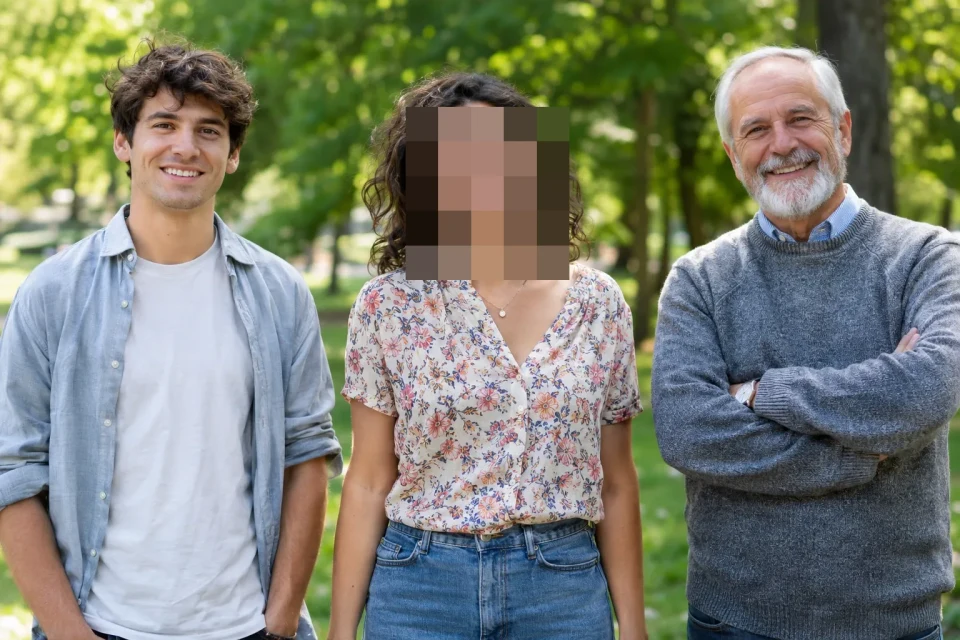
The same group photo with only the center person covered, leaving the others visible.
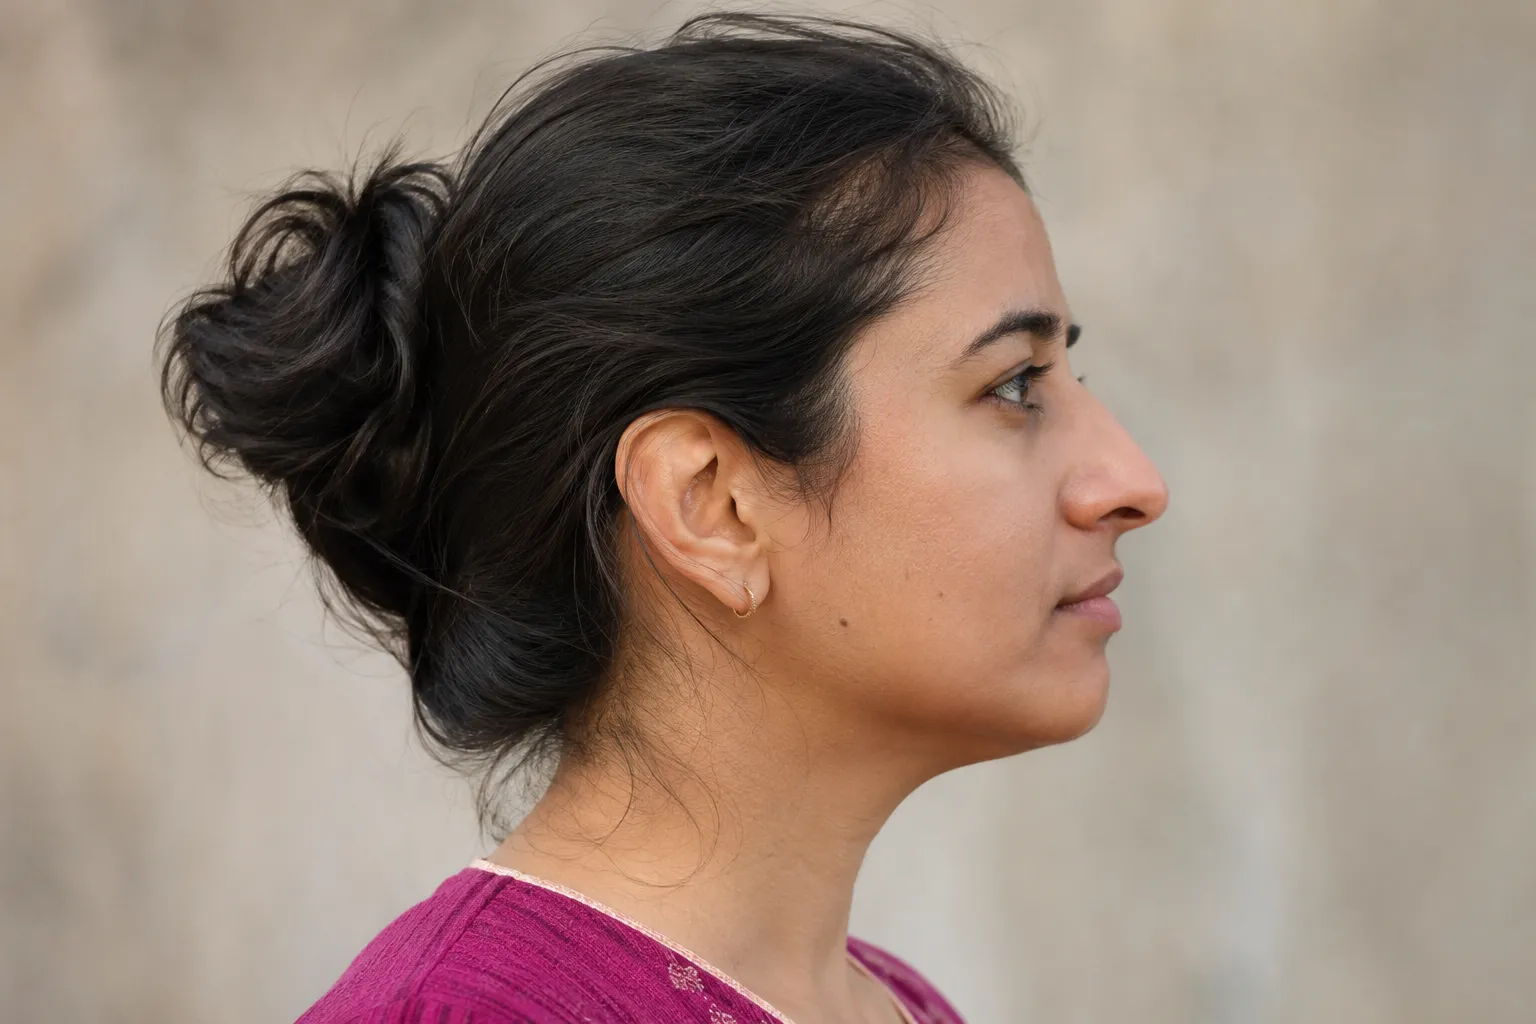
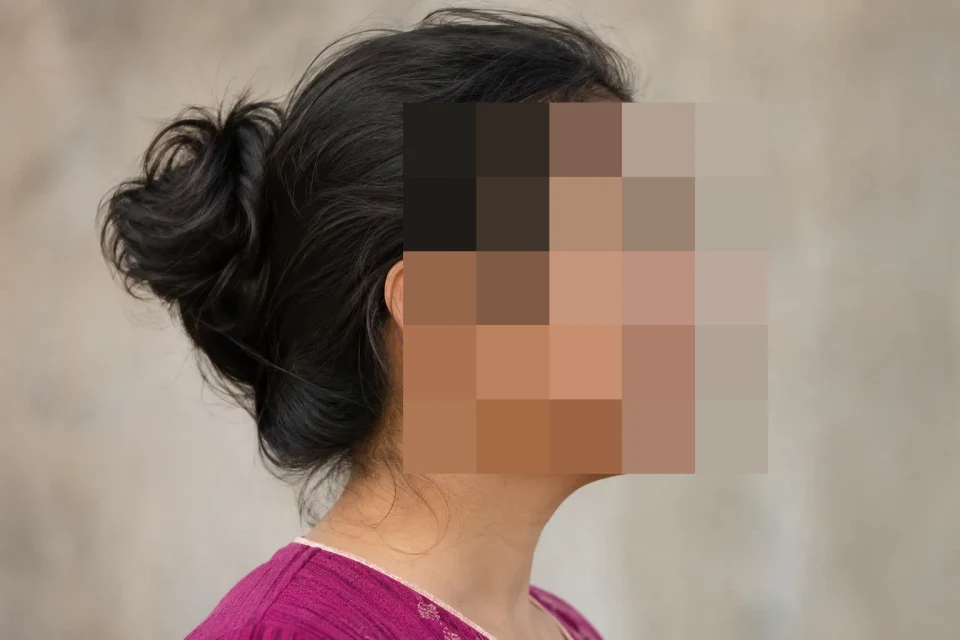
A side-view portrait covered with a manual box — useful when a profile is hard to detect automatically.
Ready to try these effects? Open the face pixelator
Everyday uses
Hide facial details while keeping the rest of the picture visible.
Cover a person who doesn't want to appear in a shared photo, while keeping the scene and other friends visible.
Find several faces at once and decide which people you want to hide before publishing a picture.
Create a familiar blocky look for a poster, meme, or edited portrait. To apply that look beyond faces, you can pixelate an entire image with the Image Pixelator.
Choose the right cover
These effects can look similar, but they do not hide visual details in exactly the same way.
| Effect | What it does | When to use it |
|---|---|---|
| Pixelate | Replaces the selected area with visible mosaic blocks. | A blocky look or obscuring facial details. |
| Blur | Softens details smoothly. | A softer visual effect. Not available as a separate effect in this editor. |
| Solid black | Covers the complete selected rectangle with an opaque color. | When you need to fully hide the pixels inside a selected area. |
Important: A pixelated or blurred face may still be identifiable from other clues in the photo. Neither effect guarantees anonymity. For sensitive images, choose Solid black and cover the entire relevant area.
Find the right look
The Mosaic strength control changes how large the blocks look inside each covered face. Choose a look, then inspect the preview.
Smaller blocks preserve more of the face and its expression. Useful for a subtle mosaic effect, but much of the person may remain recognizable.
A more noticeable blocky look that reduces facial details. Try it for casual photo edits, then decide whether larger blocks are needed.
Larger blocks hide more facial detail. It is the default setting, but does not remove other clues such as hair, clothing, or surroundings.
All three settings control the appearance of the mosaic, not a measured level of anonymity. If you need to remove the image detail inside a selected rectangle, choose Solid black and make sure the entire sensitive area is covered.
Before you share
A short review can help you catch faces or details that automatic detection did not cover.
Save your photo
All three choices keep the original photo's width and height. Choose the format that fits where you'll use your image.
Best when you want crisp mosaic edges or need to keep a transparent background. The file may be larger.
A familiar choice for everyday photos and sharing. JPG doesn't support transparency, so transparent areas become white.
Useful for smaller web images. It can preserve transparency, although support in the app you share to may vary.
The downloaded image contains the selected covers, not the boxes and handles used for editing. Check the finished file before publishing it.
A face pixelator is a tool that covers faces in pictures with blocks of color, making fine facial details harder to see. This face pixelator can find several faces automatically, and you can adjust each covered area or add one by hand.
Pixelate a faceThe editor looks for faces in a smaller copy of your picture and marks the areas it finds. Each covered area is turned into larger blocks of color. Choose Light, Medium, or Strong to adjust how coarse the mosaic looks.
When you download, the same areas are covered on the original-size photo. The model and image editor both run in your browser, so you don't have to upload the photo to a face-editing service.
Face detection can miss small or partly hidden faces. Always inspect the preview before sharing a photo.
Upload a photo and the face pixelator will try to find faces for you. Turn off any faces you want to leave visible, adjust the mosaic strength, and download your edited picture. You can also draw a box over any area yourself.
Yes. Detected faces are covered automatically. You can choose individual faces, move or resize the coverage boxes, and add more boxes manually. Always review the entire photo for faces that may have been missed.
Yes. In the Faces & areas list, turn off the coverage for anyone you want to keep visible. Leave the person you want to hide selected and covered, then preview the result before downloading.
Yes, it uses an on-device face detection model to look for faces when you open a photo. Automatic detection is not perfect: small, turned, partly hidden, or distant faces may be missed. You can always add a box manually.
Select Add area manually and drag a box over the missed face. You can move the box or resize it by dragging its bottom-right corner. Automatic scanning is optional, so you can still edit if it fails to load.
No. The editor works with your image in your browser, and the face detection model runs on your device. The app downloads its code and face detection files, but it does not send your photo to a server for editing.
Possibly. Pixelation hides details but does not guarantee anonymity. Clothing, surroundings, hair, and other details can still identify a person. Use the Solid black option to completely cover the selected part of a picture when privacy is especially important.
Yes. You can upload a photo, choose faces, and drag or resize areas using touch controls in a modern mobile browser. Detection performance depends on the browser and device.
Very small faces, side views, low light, and partially hidden faces can be missed. Choose Scan again, or select Add area manually and draw a box over the person yourself. Always check the entire photo before sharing it.
Yes. This face pixelator only changes the areas you leave covered. The rest of the image stays visible, including uncovered faces and the background.
Light keeps more facial detail, Medium gives a stronger mosaic, and Strong creates larger blocks. These are visual settings, not privacy guarantees. For sensitive pictures, consider Solid black and cover the complete area.
Yes. The finished image uses the same width and height as the uploaded photo. You can choose PNG, JPG, or WebP; JPG fills transparent parts with white.
You can download PNG, JPG, or WebP at the original photo's dimensions. PNG and WebP can retain transparency; JPG uses a white background where the source was transparent.