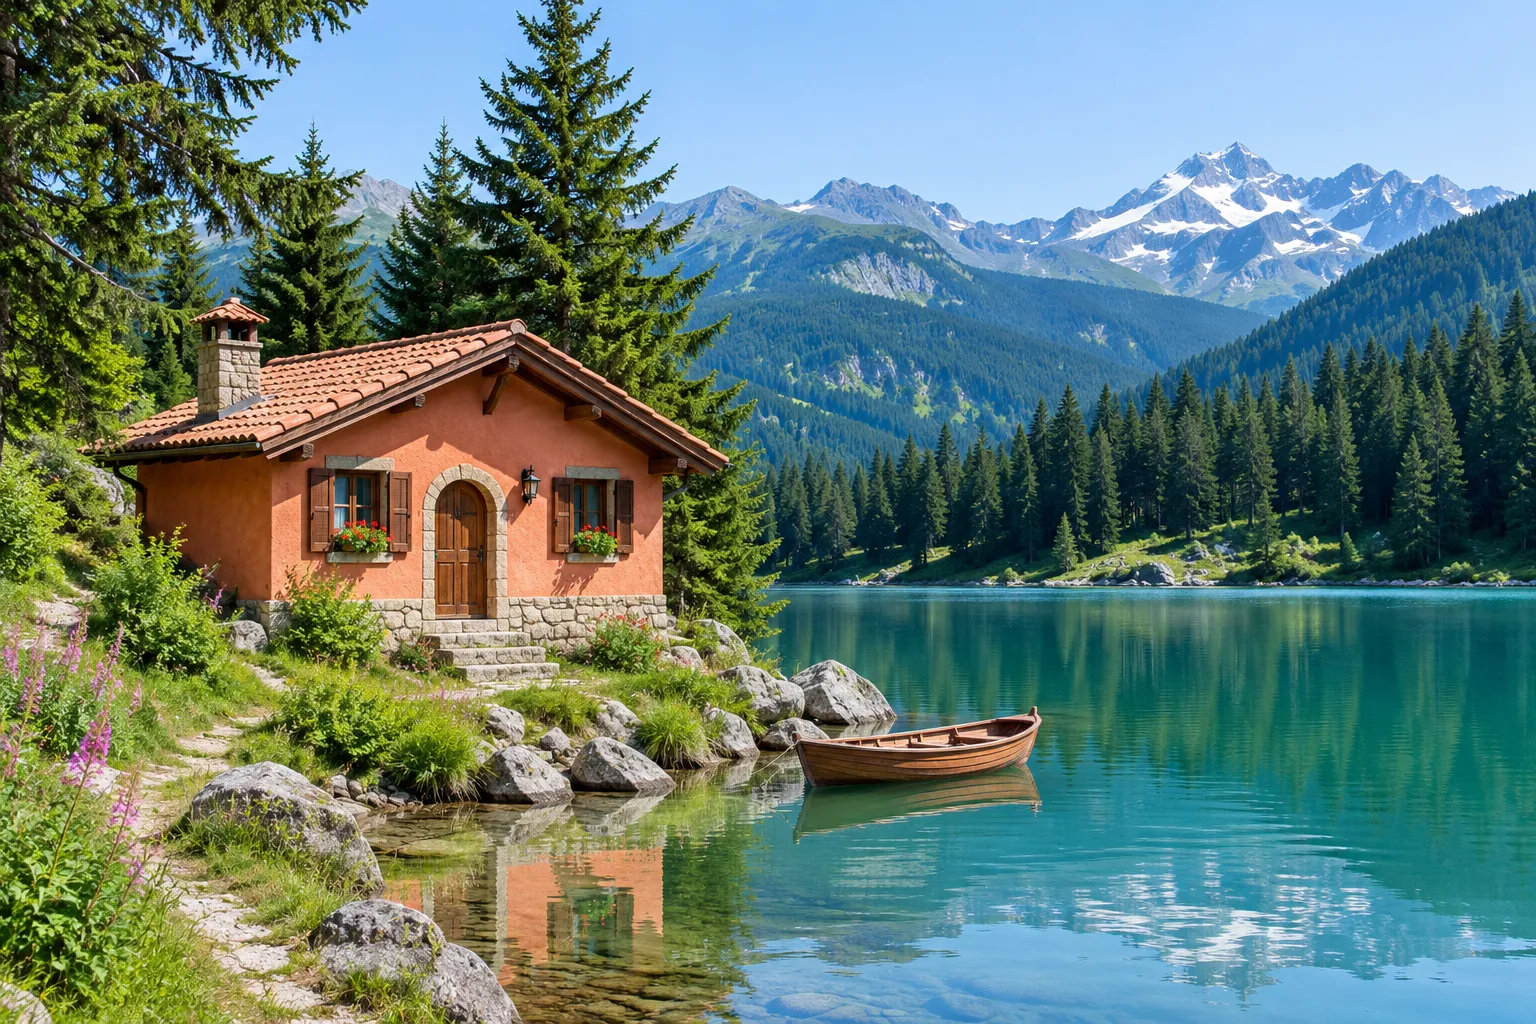
Landscape · 64 pixels wide
64 pixels wide · 32 colors · clean blocks
Turn any photo or picture into pixel art. Choose a pixel grid size, reduce colors, try retro palettes, and download crisp pixel art as PNG.
New to pixel art? Start with these steps
A simple way to start
Choose a picture, customize the pixel grid and colors, then save the result. No drawing experience required.
Choose a JPG, PNG, or WebP picture, drag one into the editor, paste it, or try a sample.
Try 16, 32, 64, or 128 pixels wide. A smaller grid creates a chunkier image.
Limit the palette, choose a retro style, and optionally add dithering for a textured look.
Compare before and after, then save a 1× pixel PNG or a crisp 8× enlargement.
See real conversions
See how landscapes, portraits, and everyday objects look as pixel art. Each example shows its original photo, finished result, and settings.
64 pixels wide · 32 colors · clean blocks
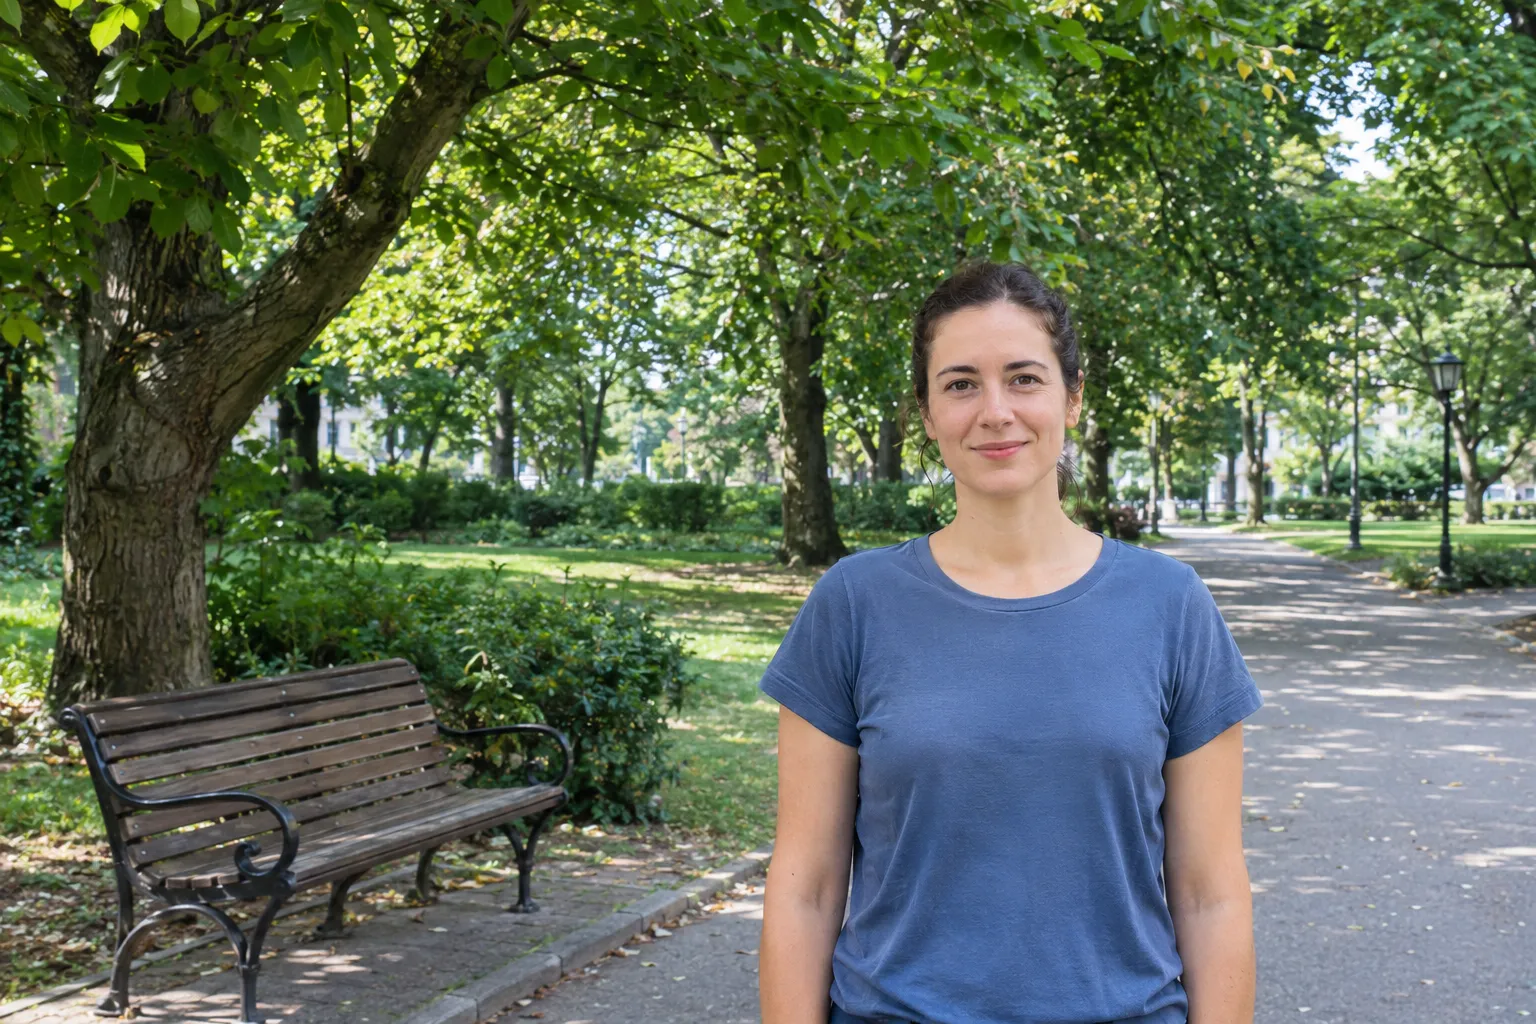
64 pixels wide · PICO-8 colors · textured shading
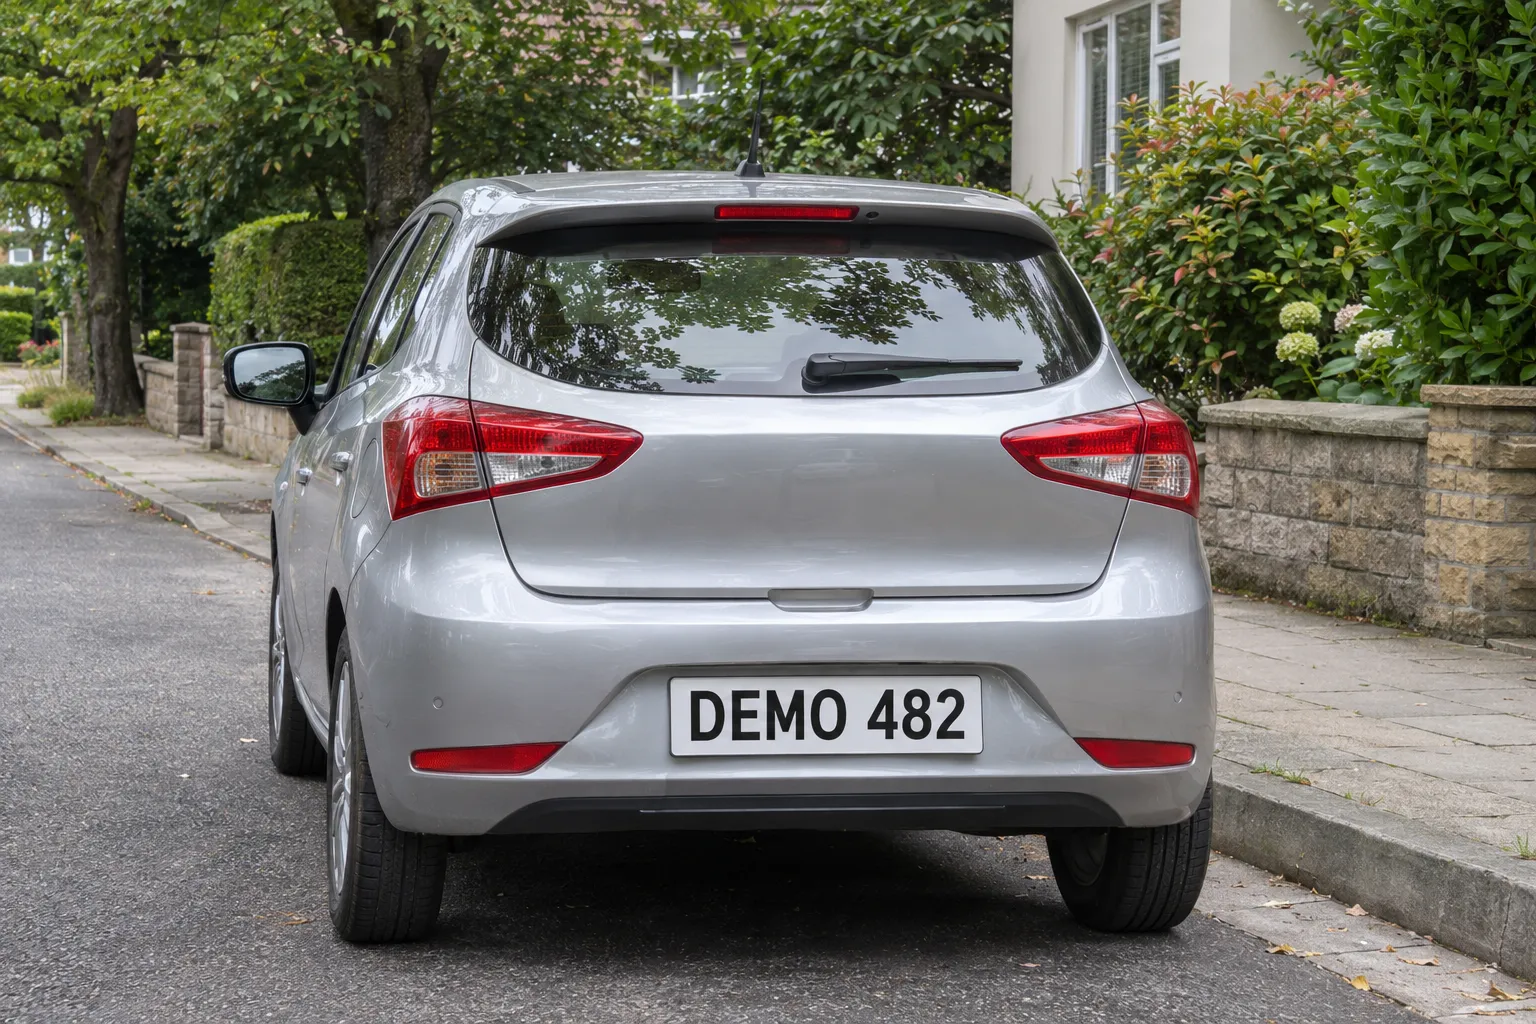
32×32 square image · classic green colors
Want to try the same styles with your own photo? Use the pixel art converter
Control your result
Grid width decides how many pixels wide your finished picture will be.
Large blocks and very little detail. Try it for abstract portraits and tiny icons.
Chunky pixel art for icons and compact characters. Square crop makes a true 32×32 image.
A useful starting point for photos. Simplified shapes remain recognizable.
More recognizable features and smoother silhouettes for detailed scenes.
Grid width sets the number of pixels across your artwork. The height adjusts to match your photo. To make 32×32 pixel art, choose 32 and turn on Square crop; this takes a centered square from the image rather than stretching it.
A good place to start
Different pictures need different levels of detail. Use these combinations as starting points, then adjust the preview to suit your image.
Landscape photos
Start with a clear skyline or a strong focal point. If distant buildings or trees disappear, try 128 pixels wide before adding more colors.
Portrait photos
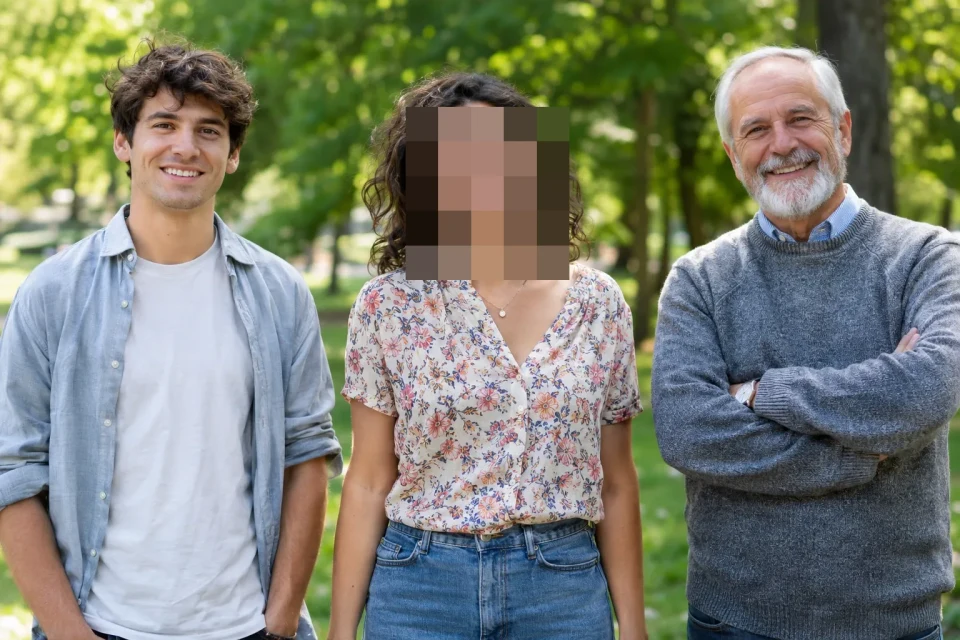
Use a photo where the face occupies plenty of the frame. If the eyes and expression become unclear, increase the grid width or try a simpler background.
Small icons
Choose a single object against a simple background. Square crop takes the center of the photo; prepare the framing before uploading if your subject is off-center.
Use these settings as a starting point. Photos with a clear subject and strong contrast usually turn into better pixel art.
A photo to pixel art converter turns a picture into artwork made of visible square pixels. You can choose the image size and use fewer colors for a retro video game look. Unlike a basic mosaic filter, the result can be saved as a small pixel art image.
Convert a pictureAutomatic colors finds a small set of shades from your photo. Start with 16 colors for a bold, simplified look or 32 for more natural shading. PICO-8 uses a fixed 16-color palette, while Game Boy uses four green tones. Grayscale removes color, and Original colors keeps the colors of the resized image without a palette limit.
Try Dithering when a limited palette makes gradients look flat. Turn it off if faces, lettering, or small details look speckled. Dithering changes the texture, not the pixel grid size.
Your photo is resized to the grid you choose, then its colors are simplified to match your selected palette. Dithering adds a subtle speckled pattern for extra shading. You can download a small PNG at its pixel art size or a sharp 8× enlargement. Your photo stays on your device throughout.
Turn profile photos into blocky portraits with fewer colors and a nostalgic look.
Explore shapes and colors for a game character, background, or object. To refine individual pixels, open the Pixel Art Grid Maker and edit your design square by square.
Choose a 16×16 or 32×32 square crop for simplified objects and icon ideas.
For the clearest results, start with a well-lit subject and an uncluttered background.
Improve your result
Small changes to the original picture and converter settings can make a much bigger difference than adding effects.
Increase Grid width from 32 to 64 or 128. Choose a photo with a larger subject and fewer background details; very small faces and distant objects lose detail first.
Try Automatic colors with 16 or 32 shades before switching to a fixed retro palette. Compare the preview with Original colors to decide whether the limited palette works for the photo.
Switch Dithering to None for cleaner shapes. Dithering can help with smooth transitions, but it may add unwanted speckles to portraits and small icons.
Square crop takes the middle of your picture. Turn it off to keep the whole photo, or crop your photo first to place the subject in the center.
1× PNG is the actual pixel grid—for example, 32×32 pixels. Choose it if you want to edit individual pixels or use the image in a pixel art editor.
8× PNG makes every pixel an 8×8 square, so a 32×32 design becomes 256×256. Choose it for a larger image with crisp edges. If you enlarge the smaller PNG in another app, choose its “Nearest Neighbor” or sharp resize option to avoid blurry edges.
Upload a JPG, PNG, or WebP picture, choose a grid width, and select the number of colors. Try a retro color palette or dithering if you want a different look. The preview changes as you edit; download a PNG when you like the result.
Yes. Converting and downloading pixel art is free, with no account or watermark. Your photo stays on your device while you edit and download it. We don't upload your pictures.
There is no single best size. Try a grid 32 pixels wide for a chunky icon-like look, 64 pixels wide for a balanced photo, or 128 pixels wide to keep more detail. Smaller grids produce larger-looking blocks.
Yes. Choose 32 for Grid width and turn on Square crop. The tool crops the center of your photo to make a 32×32 pixel image. You can also download a crisp 256×256 enlargement.
Dithering uses patterns of available colors to suggest shades missing from a limited palette. Choose the textured option for a more detailed, speckled look, or turn it off for cleaner blocks of color.
No. This tool turns an existing photo into pixel art by shrinking the image and simplifying its colors. It doesn't create new scenes or characters from text prompts. You choose the size, colors, and style.
The 1× download is intentionally small, so some image viewers will smooth it when you zoom in. Choose the 8× PNG for a larger copy with sharp edges. If you resize the small file elsewhere, choose a sharp or “Nearest Neighbor” resize option to keep the pixel edges clear.
No. Square crop uses the middle of your image to make an equal-width-and-height pixel grid. Turn it off to keep the whole picture, or crop your photo first if your subject isn't in the middle.
Yes. PNG images with transparency can be converted and exported as PNG. The pixel art effect simplifies colors and edges, so check the preview if your picture contains fine transparent details.
You can use the exported PNG as a starting point for a sprite or icon. For animation or sprite sheets, open the downloaded image in a dedicated pixel art editor.
Yes. Pixel art uses fewer pixels, so some fine details will disappear. That's part of the style. Download at 1× for the actual pixel grid or 8× for a larger file with crisp square edges. Keep your original photo if you might want to edit it later.